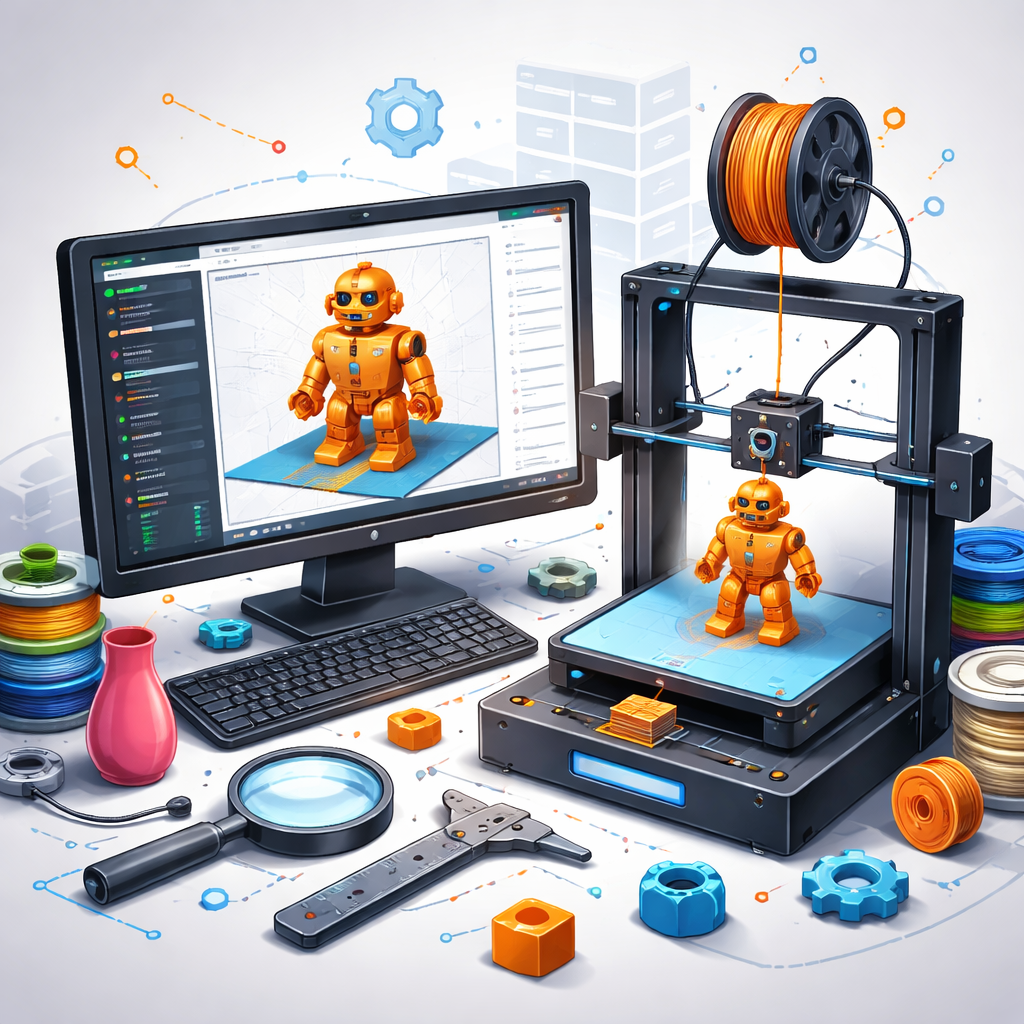
For most beginners, the answer sits inside 3D printer slicer software. This tool quietly controls how a digital model turns into physical layers of plastic. Without understanding how slicing works, even the best printer and cleanest design can produce disappointing results.
Slicing software acts as the bridge between design and machine behavior. It determines how fast material flows, how layers stack, and how the printer moves. Learning a few core concepts early reduces failed prints, wasted filament, and frustration.
1. A 3D Slicer Is the Translator Between Design and Printer
From shape to machine language
A slicer converts a 3D model into instructions a printer can understand. These instructions control movement, extrusion, temperature, and timing. Without this translation step, printers have no idea how to build an object.
This is why 3D printing slicing software sits at the center of every print workflow.
2. Not All 3D Printer Slicer Software Works the Same Way
Different tools, different strengths
Some slicers focus on simplicity. Others provide advanced control. Certain tools prioritize speed, while others aim for print quality or material efficiency.
Beginners benefit from understanding that switching slicers can change results even when the model and printer stay the same.
3. Printer Profiles Are Critical for Accurate Prints
The foundation of consistency
Printer profiles define build volume, nozzle size, firmware behavior, and motion limits. An incorrect profile can cause layer shifts, poor adhesion, or failed prints.
Most slicers include prebuilt profiles, but verifying compatibility prevents unexpected behavior during printing.
4. Layer Height Controls Print Quality and Print Time
Detail versus speed
Layer height determines how thick each printed layer becomes. Thinner layers improve surface detail but increase print time. Thicker layers print faster but reduce visual smoothness. Understanding this balance helps match settings to each print’s purpose.
5. Infill Settings Impact Strength More Than Appearance
What happens inside the part matters
Infill controls internal structure. Low infill reduces material use but weakens parts. Higher infill improves strength but increases print time and filament consumption. Visual appearance rarely changes, but mechanical performance does.
6. Supports Are Helpful, but Overusing Them Causes Problems
Assistance with the cost
Supports prevent sagging during overhangs. Excessive supports increase print time, material use, and post-processing effort. Learning where supports are necessary—and where they are not—improves surface quality and efficiency.
7. Print Speed and Temperature Must Work Together
Balance prevents failure
Fast printing requires higher temperatures to maintain material flow. Slower speeds allow lower temperatures and improved bonding. Mismatched speed and temperature cause weak layers, stringing, or clogged nozzles.
8. Orientation and Placement Affect Print Success
How a model sits matters
Orientation affects strength, surface finish, and support requirements. Placement impacts bed adhesion and airflow. Simple adjustments before slicing often prevent warping or failed first layers.
9. Preview Mode Helps Catch Problems Before Printing
A final safety check
Preview mode shows layer paths, supports, and infill structure. Reviewing this step reveals gaps, unsupported areas, or unexpected toolpaths. Many print failures become visible before the filament ever heats up.
10. Default Settings Are a Starting Point, Not a Limitation
Profiles are guides, not rules
Default profiles provide safe baselines. Fine-tuning settings improves results over time. Gradual changes build understanding without overwhelming beginners.
Common Beginner Mistakes to Avoid With 3D Slicing Software
Errors that slow progress
Skipping preview checks leads to surprise failures. Changing too many settings at once makes troubleshooting difficult. Ignoring material-specific profiles causes inconsistent results.
Small, controlled adjustments create steady improvement.
How Beginners Should Progress With 3D Printer Slicer Software
Learning in stages
Start with default profiles. Adjust one parameter at a time. Observe results. Keep notes. Confidence grows through repetition, not complexity.
Mastering the Slicer Is the First Step to Better 3D Printing
3D printing success depends less on hardware and more on understanding software behavior. A slicer defines how material moves, layers bond, and parts form. Learning these fundamentals early saves time and material.
Platforms like 3DPrinterOS simplify slicing workflows while integrating design, control, and monitoring in a single system. Building confidence with a 3D slicer creates a strong foundation for consistent, reliable prints.
Start improving print results with 3DPrinterOS today.